Here’s how to make the one and only… Sharpie Tie Dye!! It is so easy, it has no mess, and it doesn’t stain! Definitely the BEST Tie Dye method! (Image below the tutorial)
How to make Tie Dye Items:
Materials:
- Colored Sharpie Permanent Markers (skinny markers work best)
- 91% Alcohol (Can be found at CVS pharmacy, only 91% Works!)
- Plain white Item (Shirt, Shorts, Socks, Hat, Shoes, this is what you will be tie dying!)
- Dropper (From Medicine Bottle or Essential Oil Bottle)
How to do it:
Step 1:Using desired marker colors, make a preliminary design. (The easiest way to do it is to make a large dot of ink in one color, then surround in many smaller dots of a complementary color, but there are lots of other designs that come out great! Don’t be afraid to experiment! Note: If you want to write something, don’t tie dye it…just leave it plain.)
Step 2:Once you have drawn your desired design, pour the 91% Alcohol into a disposable cup. Then, take your dropper and drop little drops of Alcohol all over your design. NOTE: Do not drench the design in Alcohol, the design will disappear! 3-7 drops is enough, depending on how much you want your design to spread.
Step 3:Repeat the desired amount of times (you can also tie-dye the collar if you made a shirt! It looks awesome!)
Step 4:If desired, cut your shirt to create a crop top.(Only applicable if you made a t-shirt or a tank top. (Example of how to do that in the picture below)
Step 5:Finally, let dry! Now go out there and rock your tie dye!
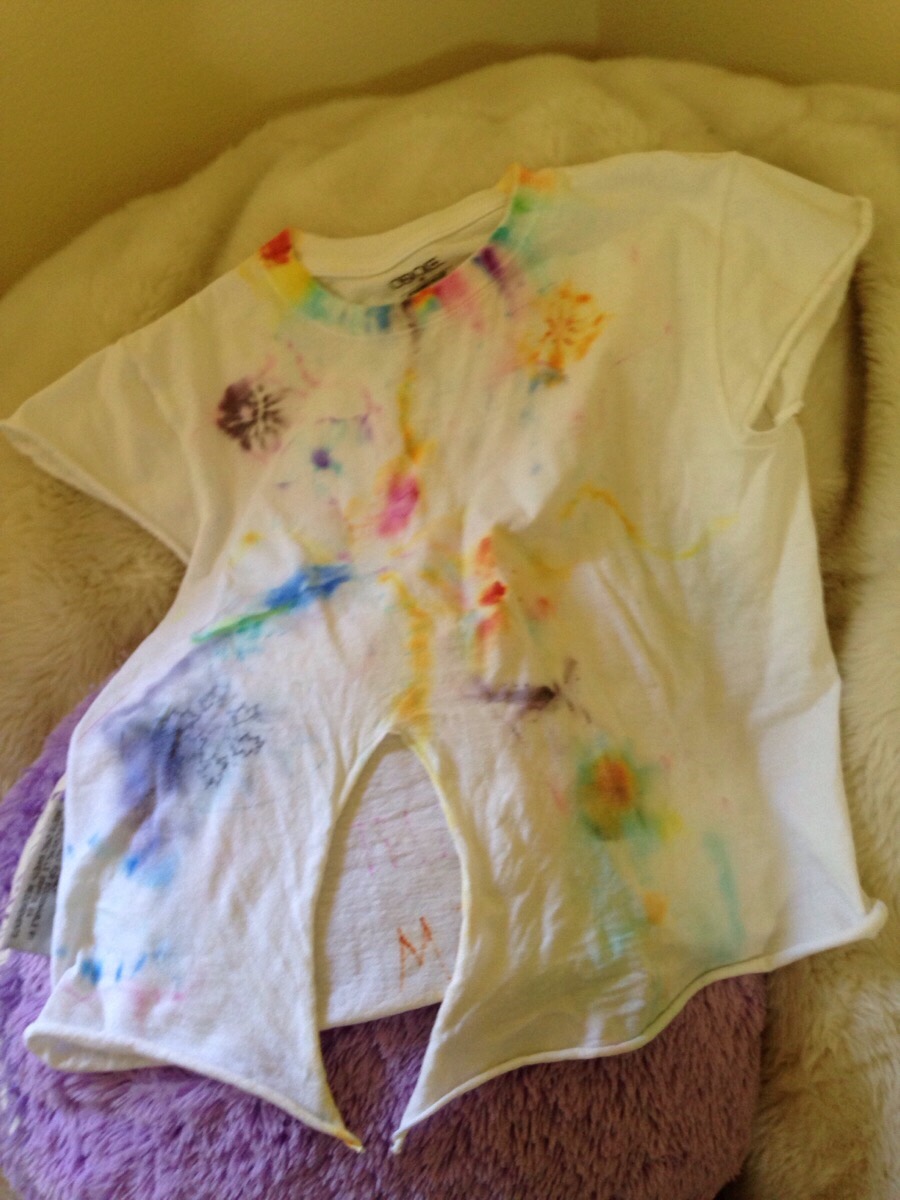 ⏎ One of our T-shirts cut into a crop top!
